Sunday, 12 February 2012

Blinds and blankets...

This week I finished two time consuming projects...first up...my blinds!


I have to admit that the extra time taken measuring, re-measuring, tacking everything in sight and taking it slowly did pay off. They went up and I've had to make no adjustments. I'm really pleased with how they look. Hooray for thermal lined and interlined cosy blinds shutting out that freezing air! Brrrr.

Another cosy item (which totally clashes with my blinds!) is a massive snug granny blanket that I have been picking up and putting down for a year! It is also finally finished and doing it's job over my legs of an evening. It was a bit of an experiment with colours and some I like and some not. Next, I'm going to try a ripple blanket but in cotton this time.


There are two whole boys under there!

Friday, 3 February 2012

Nigella's Banana Bread

Had a few of the school Mum's over for coffee this morning. Made this again...Nigella's Banana Bread. It was really good! I made it without the walnuts as the kids don't really like them. Good enough to buy rum for if you don't have a bottle in the under stairs cupboard like I do...

Monday, 23 January 2012

Something a bit funny...


New Girl...I really like this show. Give it a go?...it might not be your cup of tea but the first three episodes are free to watch on 4OD. Personally, for me it's a bit of Winter escapism, it makes you feel good and sometimes you'll laugh. It's very cheesy with some unrealistic characters but that's what I like about it. It's also great background telly...there is something to be said for TV that you can enjoy without really concentrating. Deffo a girls show I would say...

However, the show I really LOVE is Modern Family...


You've got to watch it from season 1 and don't stop until you are up to date...It's also American and slightly glossy but it's VERY funny, it has truly great characters and manages to be touching without being cheesy! It is also popular with Ed, James and Phil and they are all quite different types of bloke!

Enjoy...Nix!

Saturday, 21 January 2012

Slow progress!

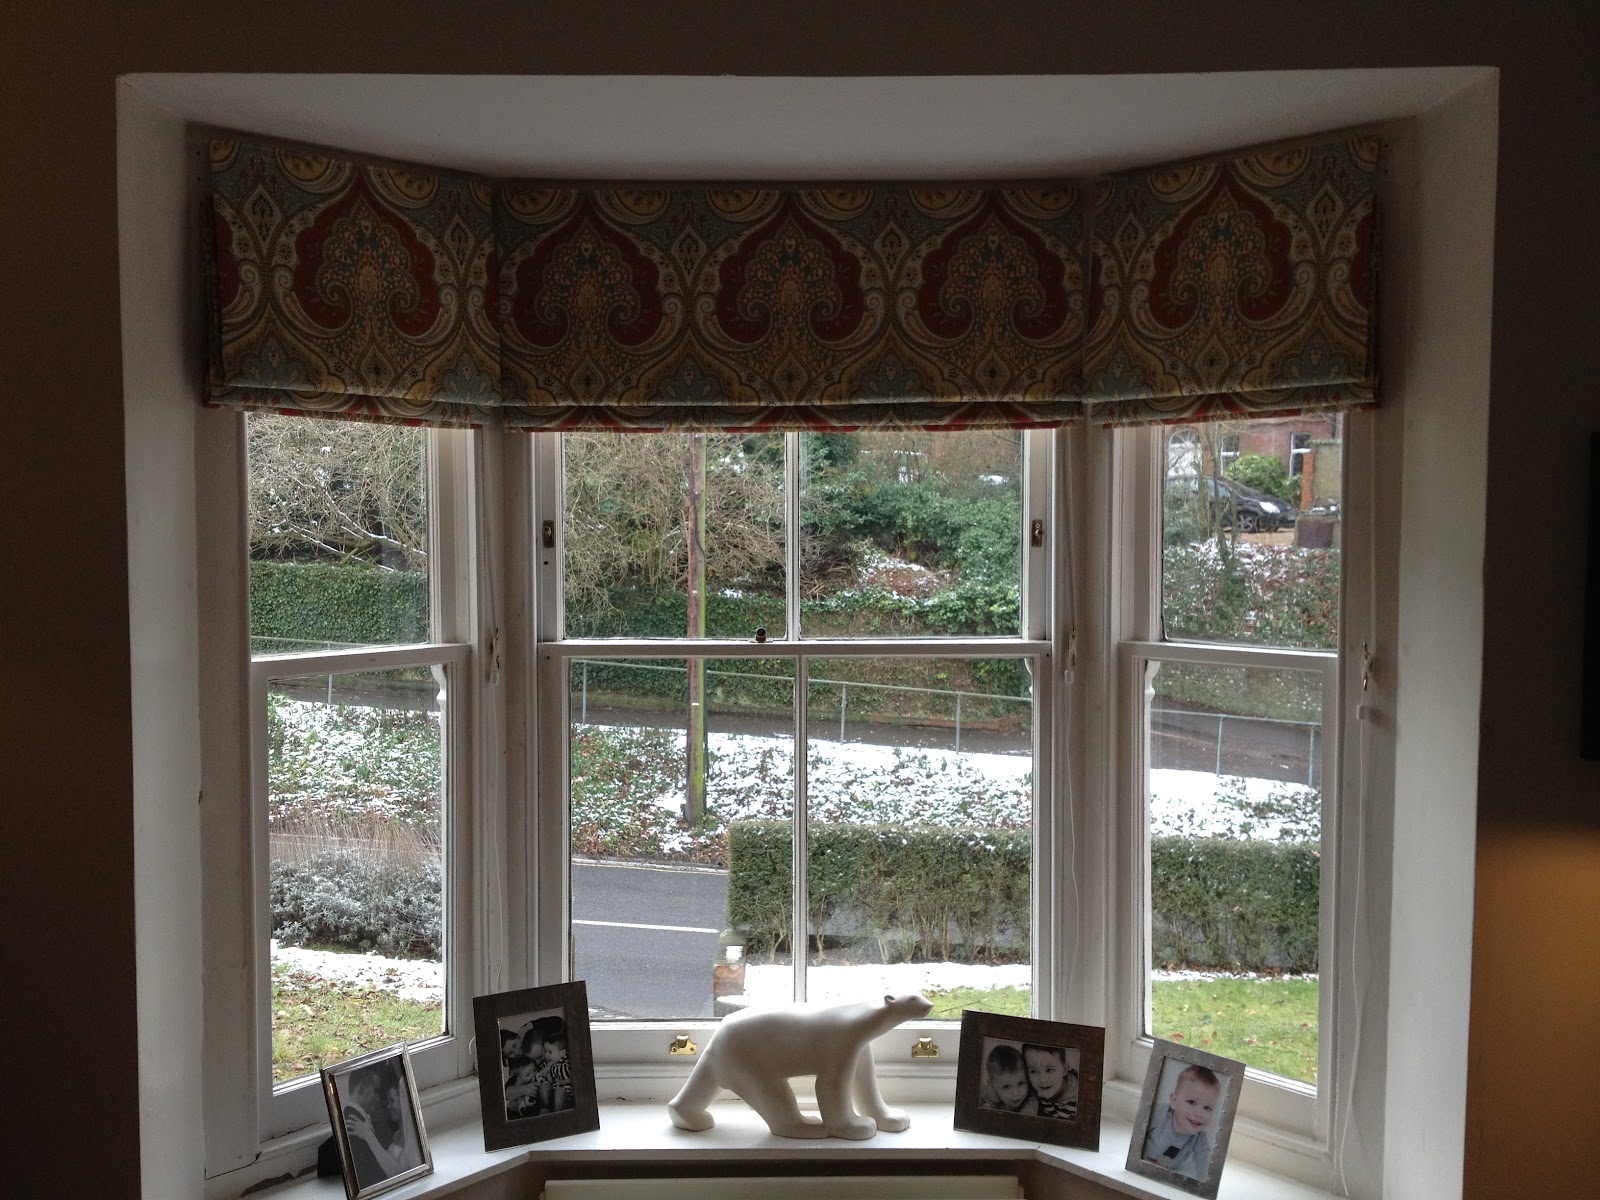
We really need some new blinds in our sitting room. We've had three white roller blinds up in our bay window for the last five years. They were up there when we moved into our house and they look pretty tacky. When one fell down and I got a closer look at it I thought it was about time I made some new ones.

So I chose some fabric and I decided to make them at the sewing class I go to fortnightly during term time. I started before Christmas, but Christmas took over so I am finishing them now.


It's been slow but I'm getting there. I have just finished carefully sewing the lining all the way around each of the three blinds. At my class this coming Thursday I have to sew on the rod pockets, sew on the hoops, remove all the tacking and thread them up. Hopefully they should be ready to go up...either that or they'll sit on the floor for a whole year like my bedroom blind did after I made that!


I thought I would share this way of sewing hidden stitches that my teacher (May Martin) taught me in my last class. It is very simple but I wouldn't have thought about doing it. It saved me a lot of time as you make a lot fewer stitches and also looks really tidy.


Can you see my secret stitches?


So you make a tiny stitch, then you put the needle in and along the inside of the fabric, then you come back out and make another tiny tight stitch...


and repeat!...


So you make fewer stitches and so it takes less time and also is virtually invisible...see my thread coming out at the end of a row of stitches?? Simple and yet very clever eh?

Or is it just me that found that quite amazing!?

Thursday, 19 January 2012

Mmmm...loving this new fabric range...


Loving this new 30's inspired fabric range by Chloe's Closet...I may be adding some of these gorgeous fat quarters to my Birthday 'present to myself' list...

See the full range of '30's Playtime' here at one of my favourite online fabric shops...Seamstar

Wednesday, 18 January 2012

Cute bike seat cover...

My neighbour asked me to make 'girly' a boys bike she was handing down to one of her twin two year old daughters at Christmas...so here is what I did...


First off, I searched the web for tutorials and I found this helpful one here...I started out using this and then kind of ended up doing my own thing as my needs were slightly different. It was being used by a child so would need to be tight and secure but also easily removable for washing.


I followed the blog instructions for cutting the fabric. I won't copy them all out here as it is someone else's tutorial.


I then quilted mine with some wadding to make it slightly more comfy and also stronger and more secure.


Then I put the right sides together and machined around the edges...as per instructions. As you can see in the picture below I hadn't allowed quite enough fabric for the sides because I ended up making the cover slightly bigger than my initial drawing.


So I pulled the sides together, folding the end underneath and I tightly hand sewed right up to the pole. The seat cover can still come off the other way.


I then sewed pink bias tape all around the remaining opening, joining the two ends of the tape at the pole with a bow. I thought trying the fancy way of joining the ends of bias tape in that tight spot might be a bit of a faff. I  then added ties at the top. To undo the seat cover you untie the top bow, unfold the flap and slip the seat out.


I also covered the protective padding around the handlebar. I just made a tube out of the spotty fabric and slipped it in.

Lovely!

Tuesday, 17 January 2012

A pirate's life for me...

My baby boy (3 last Sunday - sob sob) is very much into pirates at the moment. Partly because that's what all 3 year old boys tend to like but mainly because he loves a new Disney kids program called 'Jake and the Neverland Pirates' which we get on Sky. I wanted to make him a 'Jake' costume as part of his Christmas present.
BTW: If anyone who reads this blog has a child who loves that show I can highly recommend the soundtrack CD. I picked it up just before Christmas on Amazon for about £3.50 and it's great. The pirate rock is actually quite catchy for a kids CD. We have all been singing and dancing to it...anyway, I digress...The dressing up clothes...
I decided to make Zac a pirate costume just like Jake's and so here is what I did...
First I looked at this site that my friend Jess, in New Zealand, sent to me because they did a fair bit of boy craft. Dana actually has a whole section on boys that I will definitely be looking over again. Anyway, she had a pirate vest tutorial which looked really cool but as I was running a bit short on time, I decided to wing it and made the whole thing up.
I chose some fabric that wouldn't fray so that I wouldn't need to hem it and some gold edging/tape/ribbon type stuff from a local craft shop.
So for the vest I took a one that I had made previously for a cowboy costume and chalked and then cut around it. The way I originally made the cowboy vest was by taking a T shirt that came up on the big side and with chalk drawing the shape of it without sleeves onto the felt and then cutting that out twice. One for the back, one for the front. Cut up the centre of the front piece to make the opening and shape the neck. For Jake's I left the lapel flaps in place as that's kind of how his looks. Sew the sides an the shoulders together...hey presto!
If you want to make one out of fabric that would need hemming you should follow the tutorial from Dana's website here.
So next I used a zig zag stitch and some yellow cotton to sew the glittery edging tape on. It frays so I had to sew the ends under themselves. I also didn't quite buy enough so it only got sewn on the front. I found some old buttons and sewed them on and that was the vest done.
I then made a red headband like Jake's one by sewing a long inside out sausage which tapered at each end. Next I turned it the right way out and closed the gap with the machine. That's the great thing about dressing up clothes. It  doesn't really matter too much about the finishing. I also wanted to re-create Jake's T-shirt with leather ties so I took an old long-sleeved white vest of Zac's and cut the neck off and then made a cut vertically. I then bound this with brown bias tape and made some holes which I threaded the brown cord through...See pic above if you don't get what I mean. This didn't really work as well as I had hoped as the T-shirt material was very stretchy cotton jersey. The neck opening ended up bigger than it should have but again, it doesn't really matter. It actually made it easier for a 3 year old to get on himself.
I got the belt 'buckle' from the craft shop and I stitched it on to a piece of brown felt that can be threaded through any jeans as my son had been known to get through more than one pair in a day!
I didn't get a picture of him wearing this creation on Christmas Day as it was slightly busy! However, since then we have been to the panto and watched Peter Pan with Hook and his gang and so now we have added to the pirate dressing up collection.
The pirate hats were from here but I used Dylon fabric paint rather than cut out and sew on the jolly roger...
The map, I hand drew with a sharpie onto fabric after searching the web for 'pirate map' and coming up with this one in Google images. I was quite pleased with this and it was really quick...Ed says I missed my calling as a pirate cartographer...:)
The hook is obviously a plastic coat hanger which I cut with a hack saw and taped up so that Zac could stick it up his sleeve. The fishing line, dowling with a nick out of it to stop the line from slipping, string and a small bit of wire shaped for the fishing hook.
The flag and eye patch were actually a real pain but mainly because I didn't have any black felt in my stash. Every other colour but no black. So as I was making this at 10pm the night before his 3rd Birthday party I had to improvise. I found an old top and cut it up. I used interfacing to stiffen the fabric and I sewed it inside out and then turned it the right way out.
I drew the two skull and crossbones after searching for a suitable image online and copying it. I used this Dylon fabric paint which worked well.

Cakes for Zac's party...a bit last minute as I had planned to buy some pirate flags and cases to save some time but I went to get them and the shop had run out so I made them instead. If you want to make cupcake flags, to save you some time, the perfect sized flags are approximately 3.5cm x 2.5cm. You should get four in a row on A4 paper. Cut them out in pairs, wrap them around the stick with glue. I then coloured in the white line which divides the two sides of the flag with a black marker. I would have attached a PDF of my pirate flag sheet but haven't worked out how to do that on my blog yet...

One happy pirate with his Uncle Phil X